If you are ordering your coffee pre-ground, choose “Perc Grind”
If you order whole bean and grind at home, grind to a medium-coarse consistency
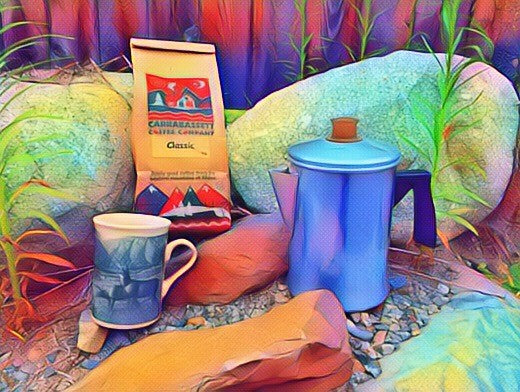
Stovetop Percolators bring to mind cowboys sitting by the campfire as the sun rises, sipping black coffee from a tin mug, while their beat-up old percolator bubbles on the hot stones. Once one of the most popular methods for brewing coffee, the ease of the drip coffee brewer pushed the strong and sometimes bitter coffee produced by the percolator to the side. A stovetop percolator can seem intimidating: descriptions of over-extracted or burnt, bitter coffee might lead you to try an “easier” method of coffee brewing (follow this link for more brewing methods articles); but those who know the tricks and secrets to a great cup of percolator coffee swear it’s the best cup of coffee you can make.
The key to a great cup of percolator coffee is to bring up the temperature of the water slowly. This isn’t a set-it-and-go method of making coffee. You need to stay by your stove and watch that pot. They say a watched pot never boils, which is exactly what you want when you make coffee in a percolator! Start with a medium-high heat, until you see the water just begin to bubble into the globe, then reduce your heat to low. You should see the globe “perk” just about every 2 or 3 seconds. If it perks too fast, it’s going to over-extract and the flavor will be unpleasant.
While you can certainly brew any type of coffee in a percolator, a dark roast is more likely to end up tasting too bitter, so if you are still new to the percolator process, you may want to start with medium roast coffees. Follow this link for a selection of our medium roast coffees. Once you’re an expert, if you’d like, go ahead and challenge yourself with a dark roast!
Below, you’ll find ten simple steps to brew a great cup of coffee using a Stovetop Percolator!
How to Brew Coffee Using a Stovetop Percolator
-
- Pour water into percolator reservoir
-
- Measure your coffee grinds- a good ratio is approximately 1 TBS to 1 cup of water
-
- Add coffee grinds to the percolator basket and close up the percolator
-
- Heat on Medium until the water just starts to bubble up into the globe (you do NOT want your coffee to boil, or it will result in a very bitter brew)
-
- Switch the temperature to Low
-
- Watch the coffee through the glass globe on top. You should see some bubbles every few seconds. If you see steam coming out of your percolator, it is too hot, so turn down the heat!
-
- Brew for up to ten minutes, watching to make sure it does not overheat
-
- Remove percolator from heat-source
-
- Remove basket with wet grinds from percolator
- Serve and Enjoy!